How to Calibrate Your Monitor for Accurate Colors
How to Calibrate Your Monitor for Accurate Colors
If you’re looking to ensure that your monitor displays true-to-life colors, calibration is essential. Whether you’re a professional photographer, graphic designer, or simply want accurate colors for your everyday tasks, proper monitor calibration is key. It ensures that colors, brightness, and contrast are displayed correctly, so your work can be as precise as possible. This guide will walk you through the steps needed to calibrate your monitor for optimal color accuracy.
Understanding Monitor Calibration
Before diving into the technical aspects, it’s important to understand what monitor calibration is and why it’s important.
What is Monitor Calibration?
Monitor calibration involves adjusting your screen’s color settings to ensure that the colors displayed are as accurate as possible. By altering settings like brightness, contrast, color balance, and gamma, calibration can help your monitor display true-to-life colors.
Why is Calibration Important?
An uncalibrated monitor can cause colors to appear distorted or inaccurate. This can be particularly problematic for those working in design, photography, or video editing, where color accuracy is critical. Proper calibration ensures that the colors you see are the same when shared or printed.
Tools Needed for Calibration
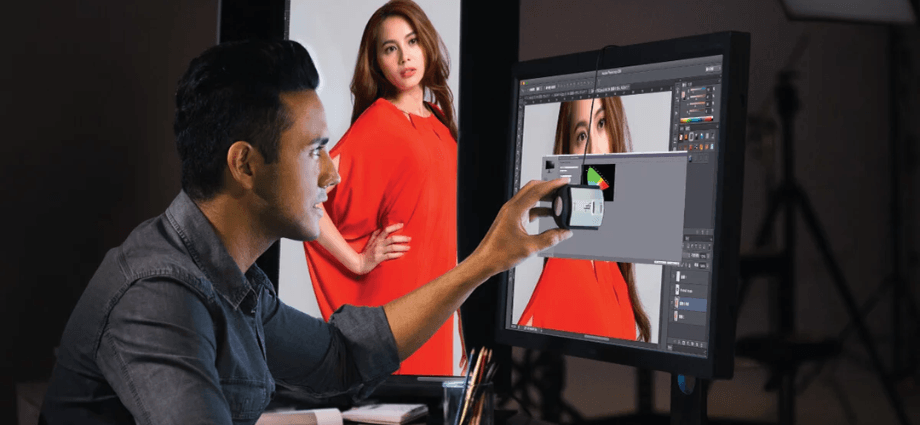
To calibrate your monitor, you can use either manual methods or dedicated calibration tools. Basic tools include built-in software on your operating system, while professional methods often involve a hardware colorimeter or spectrophotometer to provide precise adjustments.
- Calibration devices like colorimeters ensure more accurate results.
- Software tools help adjust settings based on visual feedback.
- Manual calibration can be done with just your monitor’s menu.
Understanding these tools helps in choosing the best approach based on your needs.
Preparing Your Monitor for Calibration
Proper preparation ensures that the calibration process gives you the best results.
Warm-Up Your Monitor
Before you begin, it’s essential to let your monitor warm up. This ensures that it stabilizes, as monitors can change color accuracy when they’re first turned on.
- Leave the monitor on for at least 30 minutes.
- Allow the monitor to reach normal operating temperature.
This ensures that the colors you’re adjusting reflect the actual capabilities of your monitor.
Set the Monitor to Factory Settings
Most monitors come with factory presets that can be adjusted to fine-tune color accuracy. Before starting the calibration process, it’s helpful to reset the monitor to its default settings.
- Reset brightness, contrast, and color settings to default.
- This will give you a baseline for adjustments.
Starting with the factory settings ensures that your adjustments are not influenced by previous changes.
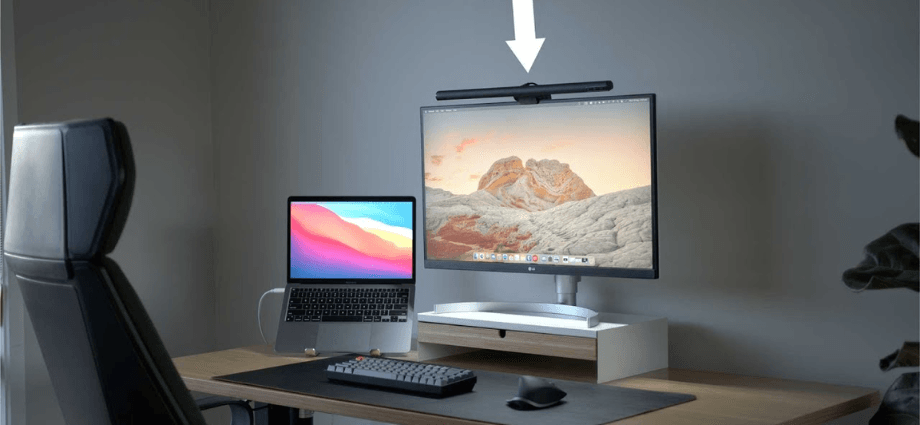
Adjust Room Lighting
The lighting in your environment can impact how you perceive color. Ensure that the room is dimly lit, as too much ambient light can skew the results of your calibration.
- Turn off bright overhead lights.
- Ensure the monitor is positioned to avoid glare.
Proper lighting ensures that the monitor’s colors are as accurate as possible without external interference.
Manual Calibration Using Built-In Tools
If you don’t have access to a colorimeter, you can use your monitor’s built-in settings and operating system tools to adjust for accurate colors.
Adjust Brightness and Contrast
The first step in manual calibration is adjusting the brightness and contrast levels. This will help you achieve a balanced image where details are visible without excessive light or shadow.
- Set the brightness so that dark details are visible.
- Increase contrast to avoid a washed-out image.
Proper brightness and contrast ensure that the image isn’t too dim or too bright, which can distort colors.
Set the Correct Gamma
Gamma correction affects how your monitor displays mid-tones. A gamma value of 2.2 is generally recommended for most users. Adjusting gamma helps improve the visibility of details in dark and light areas.
- Set gamma to 2.2 for most monitors.
- Use your monitor’s settings to adjust mid-tones.
Gamma adjustments ensure that the colors are evenly distributed across the tonal spectrum.
Calibrate White Balance and Color Temperature
White balance and color temperature determine how warm or cool the colors appear on the screen. A color temperature of 6500K is ideal for most tasks.
- Set color temperature to 6500K (standard daylight).
- Adjust the white balance for more neutral tones.
This step helps in fine-tuning the overall color accuracy for tasks like design or photo editing.
Using Calibration Software
For more precise control over your monitor’s color settings, calibration software can be a useful tool. Several programs offer step-by-step guidance to ensure proper calibration.
Choosing Calibration Software
Some popular software options include DisplayCAL, ColorMunki, and SpyderX. These programs help guide the calibration process and offer advanced features like creating custom color profiles for your monitor.
- DisplayCAL offers free, in-depth calibration options.
- SpyderX is known for its easy-to-use interface.
Choosing the right software depends on your needs and whether you’re looking for a free or professional solution.
Running the Calibration Software
Most calibration software requires you to follow a series of on-screen prompts to adjust the monitor settings. These programs will help you adjust brightness, contrast, gamma, and color temperature to the most accurate settings.
- Install the software and follow the on-screen instructions.
- Adjust brightness and contrast as the program guides you.
This process helps ensure that your monitor is perfectly calibrated for precise color reproduction.
Fine-Tuning Color Profiles
Once calibration is complete, the software will generate a color profile that matches your monitor’s color settings. You can further refine the profile to meet your specific needs.
- Create and save multiple color profiles for different tasks.
- Switch profiles based on usage, such as editing or gaming.
Maintaining separate profiles ensures that you always have the optimal color settings for any task.
Maintaining Accurate Color Settings
Once your monitor is calibrated, keeping it accurate over time requires a bit of maintenance.
Regular Calibration
Monitors can shift in color accuracy as they age or with changes in temperature. Regularly calibrating your monitor ensures that it continues to display accurate colors.
- Recalibrate every 3 to 6 months.
- Use automatic calibration reminders if available.
This ensures that your color accuracy remains consistent over time.
Monitor Aging and Color Drift
Over time, the backlight in monitors can degrade, affecting the color output. Regular calibration helps compensate for this color drift.
- Keep track of monitor aging and recalibrate accordingly.
- Consider replacing the backlight if color accuracy becomes inconsistent.
This helps ensure long-term color accuracy, especially for professional users.
Conclusion
Calibrating your monitor for accurate colors is an essential step for anyone working with visuals. Whether you’re a professional in photography or design or just want better color representation for personal use, proper calibration can make a significant difference. By following the steps outlined in this guide—preparing your monitor, using software or hardware calibration tools, and maintaining consistent color accuracy—you can ensure that your monitor consistently provides accurate, vibrant colors.
Share this content: