Setting Up the HP Envy 5055 Wireless Printer
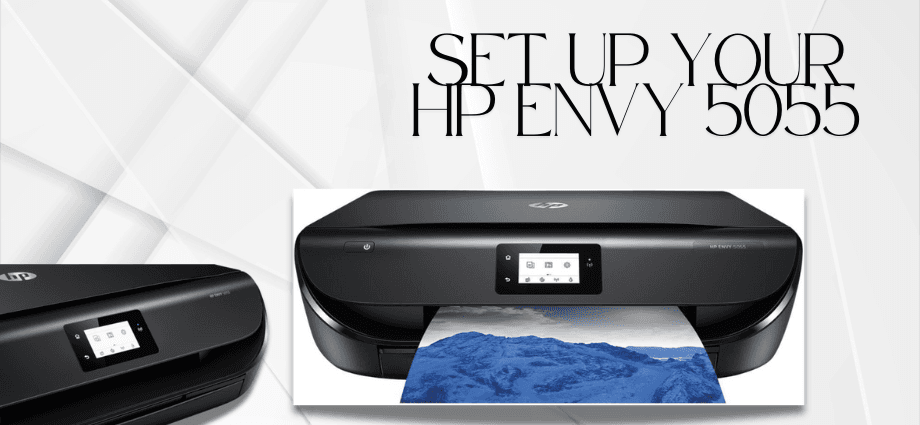
The HP Envy 5055 Wireless Printer is a reliable choice for home and office needs. Setting it up correctly ensures you can enjoy seamless printing, scanning, and copying. This guide will walk you through the process in easy-to-follow steps, from unboxing to completing the wireless setup.
Unboxing and Checking Components
Setting up your printer begins with proper unboxing and ensuring all components are present.
Unboxing the Printer
Carefully open the box and remove the printer. Be gentle while handling it to avoid damage. Place the printer on a flat, stable surface where it can operate safely. Take note of the environment around the printer to ensure there’s enough space for ventilation and paper handling.
Verifying Included Accessories
Ensure all the components listed in the manual are in the box. This typically includes:
- The printer
- Power cord
- Ink cartridges
- Setup guide
If any item is missing, contact HP support immediately to request replacements. Having all the necessary items ensures a smooth setup process without delays.
Removing Protective Materials
Remove all tapes, stickers, and protective materials from the printer. Open compartments to ensure no internal packaging remains, as these can interfere with operation. Check for any hidden protective strips inside the ink cartridge area or paper tray.
Setting Up the Hardware
Now that your printer is unboxed, it’s time to prepare the hardware for use.

Connecting the Power Cord
Connect the power cord to the back of the printer and plug it into a nearby power outlet. Avoid using extension cords for better stability and to prevent electrical issues. Turn on the printer by pressing the power button and wait for the initial setup screen to appear.
Installing Ink Cartridges
Open the ink cartridge access door. Wait for the carriage to move to the center. Take the cartridges from the package, remove the plastic strip, and insert them into the corresponding slots. Ensure they click into place before closing the door. Proper cartridge installation is crucial for clear and consistent prints.
Loading Paper
Adjust the paper guides in the input tray to fit your paper size. Load the paper stack with the printable side facing down. Avoid overfilling the tray to prevent jams. Test the alignment of the guides to make sure the paper is firmly in place but not too tight.
Configuring the Printer for Wireless Connection
Once the hardware setup is complete, the next step is to connect the printer to your Wi-Fi network.
Turning on the Printer
Ensure the printer is powered on and the touchscreen display is active. Follow the on-screen prompts to begin the setup process. If the display does not turn on, check the power connection and try again.
Accessing Wireless Setup on the Printer
From the home screen, tap the Wi-Fi icon or navigate to the wireless setup menu. The printer will prompt you to begin the network configuration process. Make sure your Wi-Fi router is turned on and within range of the printer for a smooth connection.
Connecting to Your Wi-Fi Network
Select your Wi-Fi network from the list of available options. Enter the network password when prompted, ensuring accuracy. Double-check the password to avoid errors. Wait for the connection confirmation message to appear on the screen, indicating the printer is successfully connected.
Troubleshooting Wireless Connection Issues
If the printer fails to connect, check for common issues:
- Ensure the Wi-Fi password is correct.
- Move the printer closer to the router for a stronger signal.
- Restart your router and printer, then attempt the setup again.
- Check if your network is experiencing connectivity issues by testing it with another device.
Installing Printer Software on Your Device
To use your printer, install the necessary software on your computer or mobile device.
Downloading the Software
Visit the official HP website and navigate to the support section. Search for the HP Envy 5055 model and download the latest software compatible with your operating system. Be sure to download the full-feature software package for the best functionality.
Installing the Software
Run the downloaded file and follow the on-screen instructions. Grant necessary permissions for the software to access your network and communicate with the printer. During installation, choose whether to enable automatic updates for the software to keep it up to date.
Completing the Printer Setup
After the installation, print a test page to ensure the setup is successful. If the test page prints without issues, your printer is ready to use. Use this opportunity to familiarize yourself with the printer’s features and settings for future use.
Maintaining Your HP Envy 5055 Printer
To keep your printer running efficiently, regular maintenance is essential.

Regular Cleaning
Clean the exterior of the printer with a soft, dry cloth. Periodically remove dust and debris from the input tray and internal components. Avoid using harsh chemicals, as they can damage the printer’s surface.
Updating Firmware
Check for firmware updates through the HP Smart app or the printer’s settings menu. Updates improve performance and fix potential issues. Enabling automatic updates is a convenient way to ensure your printer always has the latest features and improvements.
Monitoring Ink Levels
Use the printer’s display or HP Smart app to monitor ink levels. Order replacement cartridges before running out to avoid interruptions. Consider signing up for HP’s Instant Ink program for automatic ink delivery when levels are low.
Conclusion
Setting up the HP Envy 5055 Wireless Printer is straightforward when you follow these steps. From unboxing to wireless configuration and software installation, every detail ensures a smooth experience. Proper maintenance, including cleaning and monitoring ink levels, will help you enjoy reliable printing for years to come. Explore all the features of your printer to make the most of its capabilities.
Share this content: