How to Digitize Old Photos and Documents
Digitizing old photos and documents is a great way to preserve your memories and important records while making them more accessible and easier to share. Over time, physical photos and documents can deteriorate due to environmental factors, such as fading, moisture, and wear and tear. By converting them into digital files, you can protect them from damage and organize them for easy access. This guide will walk you through the process of digitizing your physical items, from selecting the right tools to organizing and storing your digital files.
Why Digitizing is Important
Digitizing old photos and documents serves multiple purposes. Not only does it preserve memories for the long term, but it also allows you to keep your files organized and easily accessible.
Preserving Memories for the Long Term
Old photos and documents are susceptible to environmental damage, such as fading or becoming brittle. Digitizing them ensures they last for years to come and protects them from physical deterioration.
- Protects against damage like fading, tearing, and discoloration.
- Preserves historical records for future generations.
- Stores documents safely in a digital format.
With proper digital storage, your memories remain intact, no matter what happens to the physical copies.
Easy Access and Sharing
Digital files allow you to access your photos and documents anytime, from anywhere. You can also share them easily with family members or friends, ensuring everyone can enjoy and preserve these memories.
- Access files from multiple devices.
- Share easily via email or social media.
- Organize for easy searching with keywords and tags.
Digitizing makes it simple to find, view, and share your most important documents and photos.
Space-Saving and Organization
Digitizing helps reduce physical clutter, freeing up valuable space in your home. By converting your physical photos and documents into digital files, you can organize them in a way that makes sense to you.
- Clears clutter by eliminating paper storage.
- Organizes files in digital folders.
- Makes searching easier with organized digital systems.
Having everything stored digitally ensures a cleaner, more organized home while also protecting your precious memories.
Choosing the Right Equipment for Digitization
To start the digitization process, you’ll need the right tools. There are various methods, ranging from flatbed scanners to smartphone apps, each offering its own set of benefits.
Scanners vs. Camera Apps
While flatbed scanners are often preferred for their quality and consistency, camera apps provide a quick and convenient solution for smaller projects.
- Scanners: Provide higher quality and better consistency, especially for photos and documents that need precise details.
- Smartphone apps: Easy to use, portable, and useful for digitizing a large volume of items quickly.
Choosing between a scanner and a camera app depends on the volume of items you need to digitize and the quality you’re aiming for.
Choosing the Best Scanner
If you decide to use a scanner, ensure it has the right features for your needs. Look for one with high resolution and fast scanning capabilities.
- Resolution: Choose a scanner with at least 600 DPI for detailed photos.
- Automatic document feeders: Useful for batch scanning documents.
- Versatility: Some scanners can handle both photos and documents with ease.
A good scanner ensures your photos and documents are digitized with clear and sharp details.
Using Smartphone Apps for Scanning
For smaller digitization projects, smartphone apps can be a great choice. Many apps can scan both documents and photos and automatically adjust for brightness, color, and distortion.
- Free apps like Adobe Scan or CamScanner offer easy and quick scanning solutions.
- Apps typically save scanned documents as PDFs or image files, perfect for archiving.
- Cloud integration allows you to store scans directly in Google Drive or Dropbox.
Smartphone apps are ideal for anyone needing to digitize a few documents or photos on the go.
The Digitization Process
Once you’ve chosen the right tools, it’s time to start scanning. Here’s how to approach the digitization process step-by-step.
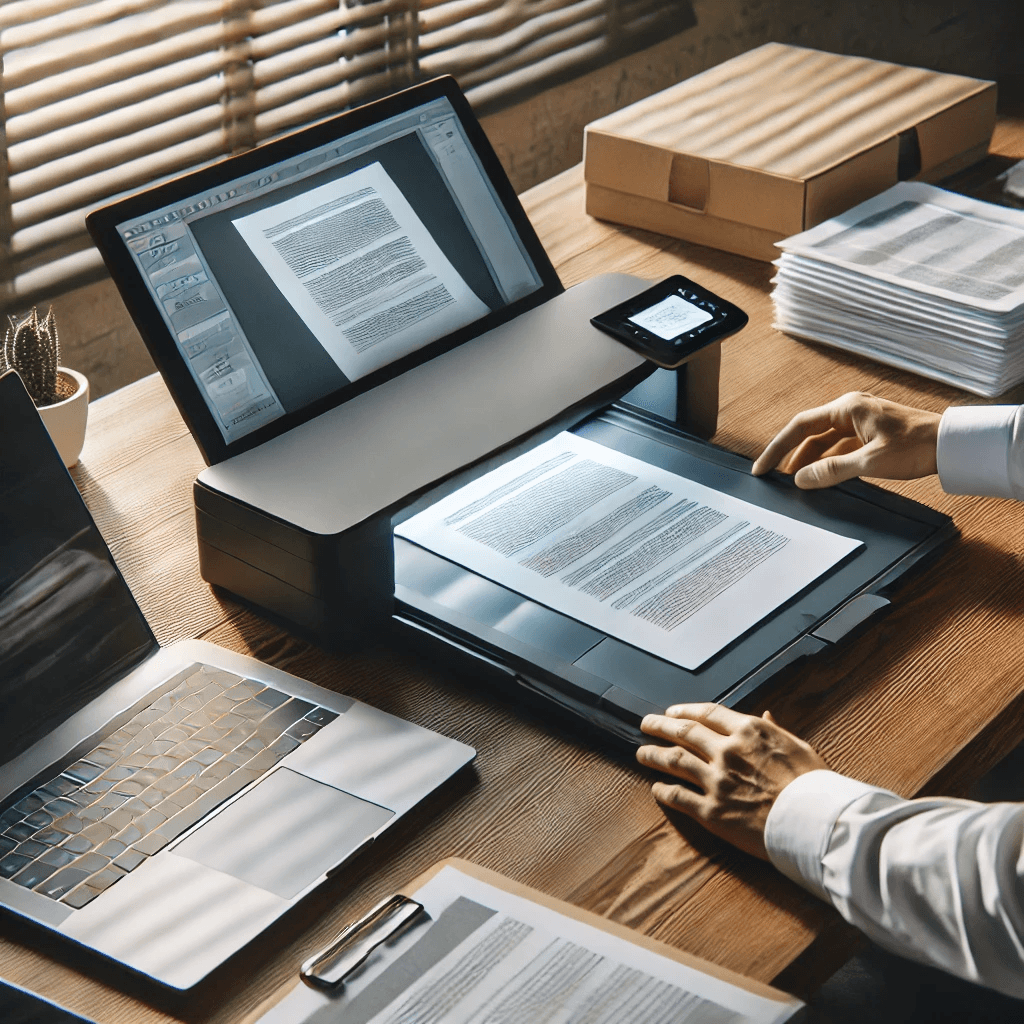
Scanning Photos and Documents
For scanning photos and documents, place each item carefully on the scanner bed to avoid distortion. Ensure the resolution is set appropriately to capture the details accurately.
- Use high-resolution settings for photos.
- Ensure proper alignment to avoid crooked images.
- Choose the right file format (e.g., JPEG for photos, PDF for documents).
A well-executed scan will result in a clear digital version of your original item.
Using Smartphone Apps for Scanning
To use smartphone apps, place your document or photo on a flat surface, ensuring there’s good lighting to avoid shadows. Open the app and follow the on-screen prompts to capture the image.
- Align the document within the app’s frame for accurate scanning.
- Adjust for brightness and color as needed within the app.
- Save or share immediately for easy access.
Smartphone apps make it easy to digitize on the go, especially for smaller projects.
Batch Scanning
If you’re working with a large number of photos or documents, consider using a scanner with an automatic document feeder (ADF) to speed up the process.
- Set up batch scanning to scan multiple documents at once.
- Adjust settings for batch scanning to ensure consistency.
- Sort items by type before scanning to keep them organized.
Batch scanning helps save time and effort when dealing with large volumes of paper.
Organizing and Storing Digital Files
After scanning, it’s essential to organize and store your digital files securely.
File Naming and Metadata
Proper file naming and metadata ensure you can quickly locate documents or photos when needed. Consider adding details such as the date, event, or a brief description.
- Use descriptive filenames for easy searching (e.g., “2023_Christmas_Family_Photo”).
- Add metadata like keywords or tags to photos for better organization.
- Sort by categories like year, event, or document type.
Organizing files from the start saves time and reduces confusion later.
Storing Digital Files Securely
Once your files are digitized, back them up to ensure they’re safe. Use cloud storage and external hard drives to protect your files.
- Cloud storage services like Google Drive or Dropbox offer easy access and backup.
- External hard drives provide a physical backup in case of cloud failures.
- Regular backups ensure your files are safe from accidental deletion or corruption.
Storing your files in multiple places ensures your digital files remain safe and accessible.
Organizing Files for Easy Access
Create a clear folder structure for your digital files, categorizing them by type or event.
- Create folders based on year or category (e.g., “Family Photos 2023”).
- Use subfolders for specific events or documents.
- Label with dates for easy reference.
An organized structure will make it easy to find specific files when you need them.
Conclusion
Digitizing old photos and documents is a valuable step in preserving memories and important records. Whether you use a scanner, smartphone app, or both, the process is relatively simple and can be done in a few easy steps. Once digitized, your files are easier to store, share, and access, making them safer from damage or loss. By following the right steps and organizing your digital files properly, you can ensure that your memories and important documents are well-preserved for future generations.
Share this content: